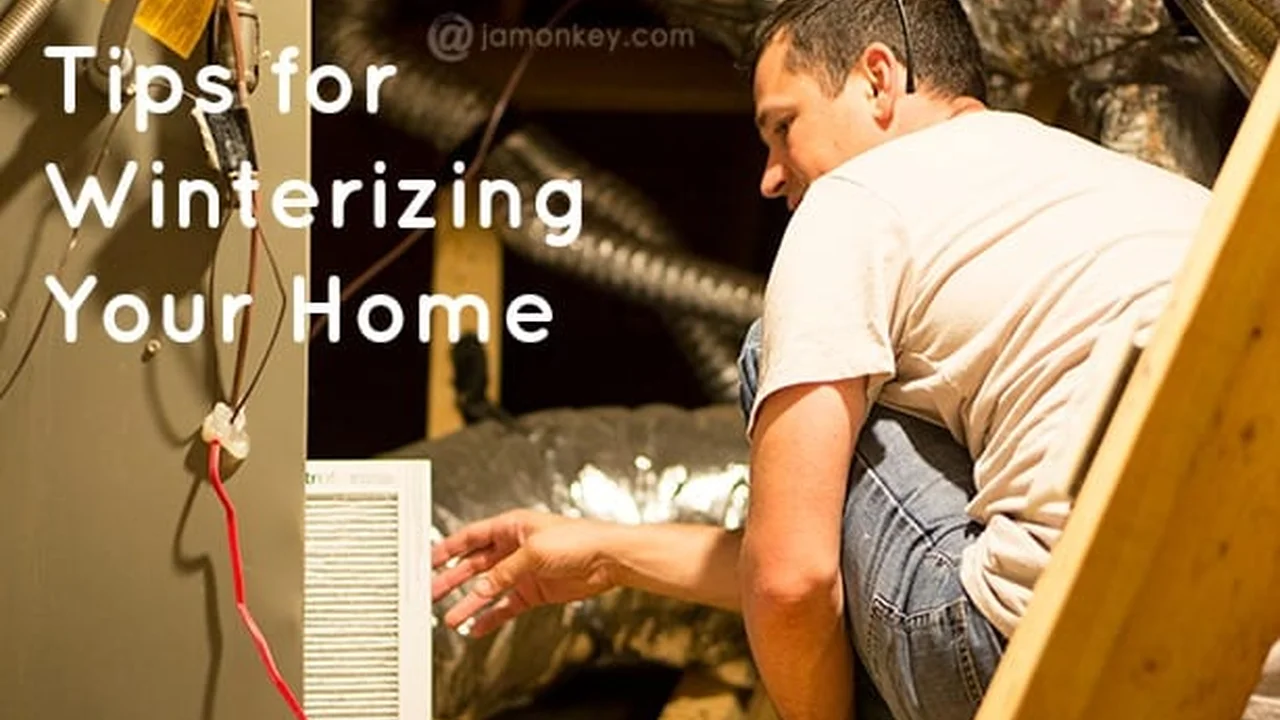
Winterizing Your Home 5 Key Steps
Winterize your home effectively with these 5 key steps. Prevent damage and save on energy costs during the colder months.
Winterize your home effectively with these 5 key steps. Prevent damage and save on energy costs during the colder months.
Winterizing Your Home 5 Key Steps
As the crisp autumn air gives way to the biting chill of winter, preparing your home for the colder months becomes not just a chore, but a crucial investment in comfort, safety, and savings. Neglecting proper winterization can lead to burst pipes, skyrocketing energy bills, and a generally uncomfortable living environment. But fear not! This comprehensive guide will walk you through five key steps to effectively winterize your home, ensuring it's a cozy, energy-efficient haven all season long. We'll delve into practical tips, recommend specific products, and even compare options to help you make informed decisions.
Insulation and Draft Proofing Maximizing Home Energy Efficiency
One of the biggest culprits for heat loss in any home is poor insulation and drafts. Think of your home as a giant thermos; if it has cracks or thin spots, the heat will escape. Addressing these issues is paramount for energy efficiency and maintaining a comfortable indoor temperature without overworking your heating system.
Sealing Air Leaks and Gaps for Optimal Thermal Performance
Start by identifying and sealing any air leaks. Common culprits include gaps around windows and doors, electrical outlets, plumbing penetrations, and even attic hatches. A simple trick is to light an incense stick and hold it near these areas; if the smoke wavers, you have a draft. For smaller gaps, high-quality caulk is your best friend. For larger gaps, weatherstripping is ideal.
- Caulk: For gaps up to 1/4 inch, acrylic latex caulk with silicone is a great choice for its flexibility and durability. Brands like DAP ALEX PLUS or GE Silicone II are widely available and offer excellent performance. Expect to pay around $5-$10 per tube.
- Weatherstripping: For doors and windows, choose between foam, rubber, or V-strip weatherstripping. Foam is inexpensive and easy to install but less durable. Rubber is more resilient and offers a better seal. V-strip is discreet and effective for sliding windows. Consider brands like Frost King or Duck Brand. Prices range from $10-$30 per roll, depending on material and length.
Insulating Attics and Walls Preventing Heat Loss
Beyond sealing drafts, proper insulation in your attic and walls is critical. Heat rises, so a well-insulated attic prevents a significant amount of heat from escaping through your roof. Wall insulation, while more involved to install in existing homes, can dramatically reduce heat transfer.
- Attic Insulation: Blown-in cellulose or fiberglass insulation are popular choices. Cellulose is often made from recycled materials and offers good R-value (a measure of thermal resistance). Fiberglass batts are also effective and easy for DIY installation. Aim for an R-value of R-38 to R-60 in your attic, depending on your climate zone. A 1,000 sq ft attic might cost $500-$1,500 for DIY materials, or $1,500-$3,000+ for professional installation.
- Wall Insulation: If your walls aren't insulated, consider blown-in insulation, which can be installed without tearing down drywall. This is typically a job for professionals and can cost anywhere from $2,000-$7,000+ for an average-sized home.
Plumbing Protection Preventing Frozen Pipes and Water Damage
Frozen pipes are a winter homeowner's nightmare, leading to costly bursts and extensive water damage. Taking proactive steps to protect your plumbing system is non-negotiable.
Draining Outdoor Faucets and Hoses Essential Winter Plumbing Care
Before the first hard freeze, disconnect all garden hoses from outdoor faucets. Then, locate the shut-off valve for your outdoor spigots (usually inside your basement or crawl space) and turn off the water supply. Open the outdoor faucet to drain any remaining water. This prevents water from freezing and expanding in the pipes, which can cause them to burst.
Insulating Exposed Pipes Protecting Against Freezing Temperatures
Any pipes running through unheated areas like crawl spaces, attics, or garages are vulnerable to freezing. Insulating these pipes is a simple yet effective preventative measure.
- Pipe Insulation Sleeves: These foam or rubber sleeves are inexpensive and easy to install. They come in various diameters to fit different pipe sizes. Brands like Frost King or Armacell are reliable. A 6-foot section typically costs $2-$5.
- Heat Tape/Cables: For extremely cold climates or particularly vulnerable pipes, heat tape or self-regulating heating cables can provide an extra layer of protection. These devices have a thermostat that turns them on when temperatures drop. Brands like EasyHeat or Thermwell are popular. Prices range from $20-$100+ depending on length and features.
Monitoring Indoor Temperatures Preventing Pipe Freezing
Even if you're away, keep your thermostat set to at least 55°F (13°C) to prevent pipes from freezing. For extended absences, consider smart thermostats that allow you to monitor and adjust temperatures remotely. The Google Nest Thermostat (around $130-$250) or Ecobee Smart Thermostat (around $190-$250) are excellent options, offering features like geofencing and energy usage reports.
HVAC System Maintenance Ensuring Efficient Heating
Your heating, ventilation, and air conditioning (HVAC) system is your home's lifeline during winter. Regular maintenance ensures it runs efficiently, keeps you warm, and avoids costly breakdowns.
Furnace Inspection and Filter Replacement Optimizing Heating Performance
Before winter sets in, have your furnace professionally inspected. A technician can identify potential issues, clean components, and ensure everything is running safely and efficiently. This typically costs $80-$150. More importantly, replace your furnace filter regularly, at least every 1-3 months, or more frequently if you have pets or allergies. A clogged filter restricts airflow, making your furnace work harder and consume more energy.
- Furnace Filters: Look for MERV (Minimum Efficiency Reporting Value) ratings between 8 and 13 for a good balance of air filtration and airflow. Brands like Filtrete or Honeywell are widely available. A pack of 3 filters can cost $20-$50.
Thermostat Programming and Smart Thermostat Benefits Energy Savings
Program your thermostat to lower the temperature when you're away or asleep. Even a few degrees can lead to significant energy savings. As mentioned earlier, smart thermostats offer even greater control and insights into your energy consumption. They can learn your habits, adjust temperatures automatically, and even detect issues with your HVAC system.
Roof and Gutter Care Preventing Ice Dams and Water Damage
Your roof and gutters play a critical role in protecting your home from winter's elements. Neglecting them can lead to ice dams, leaks, and structural damage.
Cleaning Gutters and Downspouts Ensuring Proper Drainage
Before leaves freeze and snow falls, thoroughly clean your gutters and downspouts. Clogged gutters prevent melting snow and ice from draining properly, leading to water backing up under your shingles and forming ice dams. This can cause water to seep into your attic and walls, leading to costly damage.
- Gutter Cleaning Tools: A simple scoop or a garden hose with a strong nozzle can do the trick. For hard-to-reach areas, consider a gutter cleaning attachment for your leaf blower or pressure washer.
Inspecting Roof for Damage and Loose Shingles Proactive Roof Maintenance
Inspect your roof for any damaged, loose, or missing shingles. Repair these before winter to prevent water intrusion. If you're uncomfortable on a ladder, consider hiring a professional roofer for an inspection. This can cost $100-$300, but it's a small price to pay to avoid major water damage.
Considering Gutter Guards and Heat Cables Preventing Ice Dams
To further prevent ice dams, consider installing gutter guards, which keep debris out of your gutters. For areas prone to heavy snow and ice, heat cables can be installed along the edge of your roof and in gutters to melt snow and ice, ensuring proper drainage. Gutter guards can range from $1-$10 per linear foot, while heat cables can cost $5-$15 per linear foot, plus installation.
Emergency Preparedness and Safety Measures Staying Safe in Winter
Beyond protecting your home's structure, preparing for winter also means ensuring your family's safety and comfort during potential power outages or severe weather events.
Stocking Emergency Supplies Essential Winter Preparedness
Assemble an emergency kit with essentials like non-perishable food, bottled water, blankets, flashlights, extra batteries, a first-aid kit, and any necessary medications. Aim for at least a 3-day supply for each family member.
Testing Smoke and Carbon Monoxide Detectors Ensuring Home Safety
Winter often means increased use of heating systems, fireplaces, and gas appliances, which can increase the risk of carbon monoxide poisoning. Test your smoke and carbon monoxide detectors monthly and replace batteries annually. Consider smart detectors like the Nest Protect (around $120) which can send alerts to your phone and even integrate with other smart home devices.
Preparing for Power Outages Backup Power Solutions
In areas prone to winter storms, power outages are a real possibility. Consider backup power solutions:
- Portable Power Stations: For charging phones, laptops, and running small appliances, a portable power station like the Jackery Explorer 500 (around $500) or Goal Zero Yeti 400 (around $450) can be invaluable. They are quiet, emission-free, and can be recharged via solar panels.
- Portable Generators: For powering larger appliances like refrigerators or a few lights, a portable gasoline generator is an option. Brands like Generac or Honda offer reliable models. A 3,000-watt generator can cost $400-$1,000. Remember to operate generators outdoors in a well-ventilated area to prevent carbon monoxide buildup.
- Whole-Home Standby Generators: For ultimate peace of mind, a whole-home standby generator automatically kicks in when the power goes out, powering your entire home. These are a significant investment, typically costing $5,000-$20,000+ installed, but offer unparalleled convenience and safety during extended outages.
By diligently following these five key steps, you'll not only protect your home from the harsh realities of winter but also enjoy a more comfortable, energy-efficient, and safer living environment. Don't wait until the first snowflake falls; start your winterization efforts today and reap the benefits all season long!
:max_bytes(150000):strip_icc()/277019-baked-pork-chops-with-cream-of-mushroom-soup-DDMFS-beauty-4x3-BG-7505-5762b731cf30447d9cbbbbbf387beafa.jpg)