DIY Seasonal Decor 10 Easy Craft Projects
Get creative with these 10 easy DIY seasonal decor craft projects. Personalize your home with handmade touches for every season.
Get creative with these 10 easy DIY seasonal decor craft projects. Personalize your home with handmade touches for every season.
DIY Seasonal Decor 10 Easy Craft Projects
Embrace Creativity with DIY Seasonal Decor
There's something incredibly satisfying about decorating your home with pieces you've made yourself. DIY seasonal decor not only adds a unique, personal touch to your living space but also allows you to express your creativity and save money. Whether you're looking to refresh your home for spring, add cozy touches for fall, or bring festive cheer for the holidays, these 10 easy craft projects are perfect for every skill level. We'll explore various materials, techniques, and even recommend some specific products to help you get started. Let's dive into the wonderful world of handmade seasonal charm!
Spring Refresh DIY Decor Ideas
1. Pressed Flower Art for Spring Walls
Bring the beauty of spring indoors with elegant pressed flower art. This project is simple, beautiful, and allows you to preserve the fleeting beauty of spring blooms. You'll need fresh flowers (think daisies, pansies, or small roses), heavy books or a flower press, and picture frames.
How to Create Pressed Flower Art:
- Collecting Flowers: Choose fresh, flat flowers. Avoid overly thick blooms as they don't press well.
- Pressing: Place flowers between sheets of absorbent paper (like blotting paper or newspaper) inside heavy books. Alternatively, use a dedicated flower press for faster results. The Schacht Spindle Company Flower Press (around $40-$60 on Amazon) is a popular choice for its durability and effectiveness.
- Drying Time: Allow 2-4 weeks for flowers to fully dry.
- Arranging: Once dry, carefully arrange your pressed flowers on acid-free paper or cardstock.
- Framing: Place your artwork in a simple picture frame. Clear glass frames, like the Umbra Prisma Picture Frame (around $20-$30), are excellent for a floating effect, letting the wall color show through.
Usage Scenario: Perfect for brightening up a living room, bedroom, or entryway. They make thoughtful, personalized gifts too.
2. Mason Jar Vases with Spring Twine
Transform ordinary mason jars into charming spring vases with just a few simple additions. This project is incredibly versatile and can be adapted for any season.
Steps for Mason Jar Vases:
- Materials: Mason jars (various sizes), natural twine or jute rope, hot glue gun, and optional acrylic paint.
- Painting (Optional): For a rustic look, paint the inside of the jars with pastel-colored acrylic paint. Let dry completely.
- Wrapping: Start at the top rim of the jar, apply a small dot of hot glue, and begin wrapping the twine tightly around the jar. Continue adding small dots of glue every few inches to secure the twine.
- Finishing: Wrap until you reach the desired height, then cut the twine and secure the end with hot glue.
Product Recommendation: A good quality hot glue gun like the Surebonder H-195F Mini Glue Gun (around $15-$25) is essential. For twine, a large spool of natural jute twine is inexpensive and widely available.
Usage Scenario: Ideal for displaying fresh spring flowers like tulips or daffodils, or even as decorative holders for pens and brushes on a desk.
Summer Vibes DIY Decor Projects
3. Seashell Candles for Coastal Charm
Bring the beach to your home with beautiful seashell candles. These are perfect for adding a serene, coastal vibe to your summer decor.
Making Seashell Candles:
- Materials: Large, clean seashells (scallop shells work best), soy wax flakes, candle wicks with bases, wick clips, and essential oils (optional, for scent).
- Melting Wax: Melt soy wax flakes in a double boiler or microwave-safe container. The CandleScience All-Natural Soy Wax (around $20 for 5 lbs) is a great choice for clean burning.
- Wick Placement: Dip the wick base into the melted wax and press it firmly into the center of the seashell. Use a wick clip or clothespin to hold the wick upright.
- Pouring: Carefully pour the melted wax into the seashell, leaving a small space at the top. Add a few drops of essential oil (e.g., lavender, ocean breeze) if desired.
- Curing: Allow the candles to cool and harden completely, which can take several hours. Trim the wick to about 1/4 inch.
Usage Scenario: Perfect for bathroom decor, outdoor patio tables, or as thoughtful gifts for beach lovers.
4. DIY Citrus Garland for Freshness
A dried citrus garland adds a pop of color and a fresh, natural scent to your summer home. It's surprisingly easy to make and looks stunning.
Steps for Citrus Garland:
- Materials: Oranges, lemons, or grapefruits; sharp knife; baking sheets; parchment paper; and twine or fishing line.
- Slicing: Slice citrus fruits about 1/4 inch thick.
- Drying: Arrange slices on parchment-lined baking sheets. Bake at a low temperature (around 200°F / 95°C) for 3-6 hours, flipping occasionally, until completely dry and translucent.
- Assembling: Once cool, thread the dried citrus slices onto twine or fishing line using a needle. You can alternate with wooden beads or cinnamon sticks for added texture.
Usage Scenario: Hang across a mantel, in a kitchen window, or as a festive addition to an outdoor dining area.
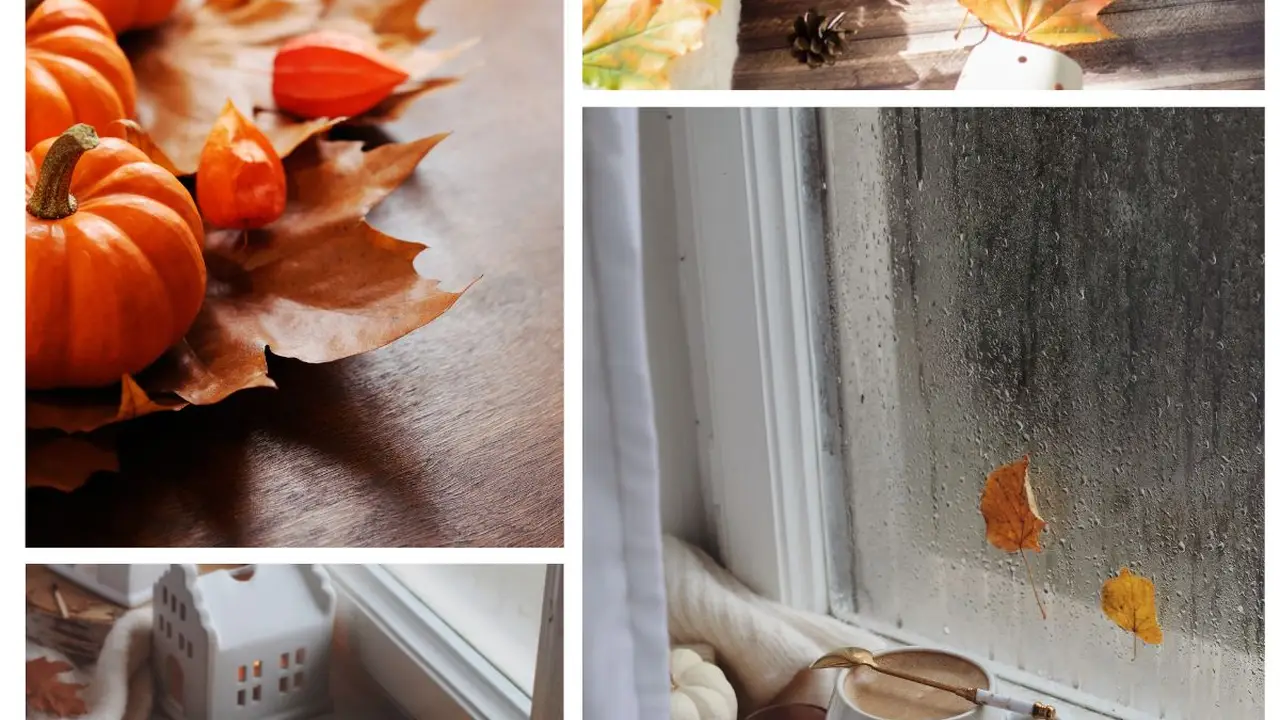
Autumn Warmth DIY Decor Projects
5. Rustic Pinecone Wreath for Fall Entryways
Embrace the natural beauty of fall with a rustic pinecone wreath. This project is budget-friendly and creates a welcoming statement for your front door.
Crafting a Pinecone Wreath:
- Materials: Wire wreath form, collected pinecones (various sizes), hot glue gun, and optional spray paint (gold, copper) or faux berries/leaves.
- Preparing Pinecones: Clean pinecones by baking them at 200°F (95°C) for 30 minutes to kill any bugs and open them up.
- Attaching Pinecones: Using a hot glue gun, attach pinecones to the wire wreath form, starting with the largest ones to create a base, then filling in gaps with smaller ones. Overlap them for a fuller look.
- Embellishing (Optional): Spray paint some pinecones for a metallic accent, or hot glue faux berries and fall leaves for added color.
Product Recommendation: A sturdy wire wreath form, like the FloraCraft Green Styrofoam Wreath (around $10-$15), provides a good base. Ensure you have plenty of hot glue sticks.
Usage Scenario: Perfect for a front door, above a fireplace mantel, or as a centerpiece on a large dining table.
6. Cozy Fabric Pumpkins for Fall Displays
These no-sew fabric pumpkins are adorable, soft, and perfect for adding a touch of cozy fall charm to any surface.
Making Fabric Pumpkins:
- Materials: Fabric scraps (flannel, velvet, or cotton in fall colors), rice or dried beans for filling, fiberfill, twine or yarn, and cinnamon sticks for stems.
- Cutting Fabric: Cut a circle from your chosen fabric. The larger the circle, the larger the pumpkin.
- Filling: Place a small amount of rice or beans in the center for weight, then fill generously with fiberfill.
- Gathering: Gather the edges of the fabric around the filling and secure tightly with twine or yarn, forming a ball.
- Shaping: Wrap additional twine around the pumpkin vertically, creating segments like a real pumpkin. Secure with knots.
- Adding Stem: Hot glue a cinnamon stick into the top for a natural stem.
Usage Scenario: Arrange on shelves, coffee tables, or as part of a fall centerpiece. They also make great bowl fillers.
Winter Wonderland DIY Decor Ideas
7. Frosted Berry Branches for Winter Elegance
Create a stunning winter display with frosted berry branches that mimic a snowy landscape. This project is simple yet incredibly impactful.
Steps for Frosted Branches:
- Materials: Bare branches (from your yard or craft store), faux berries on wire stems, white spray paint (matte finish), and glitter (optional).
- Painting Branches: Lightly spray paint the branches with white matte spray paint to give them a frosted look. Let dry.
- Adding Berries: Wrap the faux berry stems around the branches, securing them with their wire or a bit of hot glue.
- Glitter (Optional): While the paint is still slightly tacky, sprinkle fine glitter for a sparkling, icy effect.
Product Recommendation: Rust-Oleum Painter's Touch 2X Ultra Cover Matte White Spray Paint (around $5-$8) works well. For faux berries, look for bundles at craft stores like Michael's or Hobby Lobby, often priced around $5-$15 per bundle depending on size.
Usage Scenario: Place in a tall vase on a console table, dining table, or as part of a larger winter vignette.
8. DIY Snow Globe Jars for Festive Charm
These charming snow globe jars are a classic winter decoration and a fun project for all ages. They make wonderful gifts too!
Crafting Snow Globe Jars:
- Materials: Glass jars with tight-fitting lids (mason jars or old jam jars), distilled water, glycerin (a few drops), glitter (fine white or iridescent), and small waterproof figurines (miniature trees, deer, snowmen).
- Attaching Figurines: Hot glue your chosen figurine to the inside of the jar lid. Ensure it's waterproof.
- Filling Jar: Fill the jar almost to the top with distilled water. Add a few drops of glycerin (this helps the glitter fall slowly).
- Adding Glitter: Add a teaspoon or two of glitter. Start with less, you can always add more.
- Sealing: Carefully screw the lid onto the jar, ensuring a tight seal. You can add a bead of waterproof sealant around the rim for extra security.
Product Recommendation: For figurines, check miniature sets from brands like Lemax or Department 56, often found at craft stores or online. A small bottle of glycerin is usually under $10.
Usage Scenario: Display on shelves, windowsills, or as part of a festive centerpiece. They are especially magical when shaken!
Year-Round Versatile DIY Decor
9. Personalized Photo Coasters for Any Season
Create custom photo coasters that can be updated with seasonal pictures or used year-round. They protect your surfaces and add a personal touch.
Making Photo Coasters:
- Materials: Ceramic tiles (4x4 inches, inexpensive at hardware stores), Mod Podge (matte or gloss finish), foam brush, printed photos (sized to fit tiles), and felt pads for the bottom.
- Preparing Photos: Print photos on regular paper or photo paper, slightly smaller than your tiles.
- Applying Mod Podge: Apply a thin layer of Mod Podge to the tile. Carefully place the photo on top, smoothing out any bubbles.
- Sealing: Once dry, apply several thin coats of Mod Podge over the photo, allowing each coat to dry completely. This seals and protects the image.
- Finishing: Hot glue felt pads to the bottom corners of the tiles to prevent scratching surfaces.
Product Recommendation: Mod Podge Matte Finish (around $10-$15 for a large bottle) is a crafting staple. Ceramic tiles can be bought for less than $1 each at home improvement stores like Home Depot or Lowe's.
Usage Scenario: Use them on coffee tables, end tables, or as unique gifts for friends and family. Swap out photos seasonally for a fresh look.
10. Upcycled Book Page Garland for Literary Charm
Give old books new life by transforming their pages into a charming garland. This project is eco-friendly and adds a unique, vintage touch to your decor.
Creating a Book Page Garland:
- Materials: Old book (thrift store finds are perfect), scissors, twine or string, and a sewing machine (optional, for faster assembly).
- Cutting Shapes: Cut various shapes from the book pages – circles, hearts, leaves, or even simple rectangles. You can use a craft punch for consistent shapes.
- Assembling:
- Sewing Method: Feed the shapes through a sewing machine, creating a continuous string. Leave a few stitches between each shape to create gaps.
- Gluing Method: Fold shapes in half and glue them over a piece of twine, creating a double-sided effect.
Usage Scenario: Drape across a bookshelf, mantel, or in a reading nook. It adds a subtle, intellectual charm to any room, suitable for any season.
Comparing Crafting Tools and Materials
When embarking on DIY projects, having the right tools and materials can make all the difference. Here's a quick comparison of some common items:
Hot Glue Guns: Corded vs. Cordless
- Corded Hot Glue Guns: Generally more powerful and maintain a consistent temperature. Great for larger projects or continuous use.
- Cordless Hot Glue Guns: Offer greater flexibility and portability, ideal for quick fixes or projects where an outlet isn't readily available. Battery life can be a consideration.
Recommendation: For general crafting, a good quality corded mini glue gun like the Surebonder H-195F is reliable and affordable. If you do a lot of crafting on the go, consider a cordless option like the Ryobi P305 One+ 18V Cordless Glue Gun (tool only, around $30-$40, battery sold separately).
Adhesives: Mod Podge vs. Craft Glue
- Mod Podge: A versatile all-in-one glue, sealer, and finish. Excellent for decoupage, sealing paper, and creating a protective layer. Comes in various finishes (matte, gloss, satin).
- Craft Glue (e.g., Elmer's Glue-All): Good for general paper, fabric, and light material bonding. Dries clear but doesn't offer the same sealing properties as Mod Podge.
Recommendation: For projects requiring sealing or a durable finish (like the photo coasters), Mod Podge is superior. For simple paper or fabric bonding, craft glue is sufficient and often cheaper.
Crafting Fabrics: Cotton vs. Felt vs. Velvet
- Cotton: Versatile, easy to work with, and comes in a vast array of patterns and colors. Great for general sewing and no-sew projects.
- Felt: Doesn't fray, making it ideal for no-sew projects and cutting intricate shapes. Available in many colors, but can pill over time.
- Velvet: Adds a luxurious, cozy feel. Can be trickier to work with due to its nap, but the results are stunning for projects like the fabric pumpkins.
Recommendation: For beginners, cotton and felt are the easiest to start with. Velvet is great for adding a touch of elegance to specific seasonal items.
Tips for Successful DIY Seasonal Decor
Start Small and Simple
Don't feel pressured to tackle complex projects right away. Begin with one or two easy crafts to build your confidence and skills. The mason jar vases or citrus garland are great starting points.
Gather Your Materials Beforehand
Having all your supplies ready before you begin will make the crafting process much smoother and more enjoyable. Check your craft stash, local dollar stores, or online retailers.
Embrace Imperfection
Handmade items have a unique charm precisely because they aren't factory-perfect. Don't stress over minor imperfections; they add character and tell the story of your creative effort.
Personalize Your Projects
Make these projects truly yours by choosing colors, patterns, and embellishments that reflect your personal style and home decor. Add monograms, use family photos, or incorporate elements from your garden.
Safety First with Crafting Tools
Always exercise caution when using hot glue guns, sharp scissors, or other crafting tools. Supervise children if they are participating in projects that involve these tools.
Consider Storage for Seasonal Items
When creating seasonal decor, think about how you'll store it when the season is over. Choose durable materials and consider compact designs if storage space is limited.
Where to Find Affordable Crafting Supplies
You don't need to break the bank to create beautiful DIY decor. Here are some great places to source affordable materials:
- Dollar Stores: Excellent for basic supplies like glass jars, twine, small craft items, and sometimes even seasonal embellishments.
- Thrift Stores: A treasure trove for old books, unique jars, fabric scraps, and frames that can be upcycled.
- Craft Stores (e.g., Michael's, Hobby Lobby, Joann Fabrics): Always check their weekly ads and use coupons! They often have sales on seasonal items, fabric, and crafting tools.
- Hardware Stores: Surprisingly good for basic materials like ceramic tiles, small wood pieces, and various types of glue.
- Online Retailers (Amazon, Etsy, Alibaba): Great for bulk purchases of specific items like soy wax, wicks, or specialized craft tools. Prices can vary, so compare before buying.
- Your Own Backyard: Pinecones, branches, and pressed flowers are free and add an authentic natural touch.
By incorporating these easy DIY seasonal decor projects into your home, you'll not only create a space that feels uniquely yours but also enjoy the rewarding process of making something beautiful with your own hands. Happy crafting!
:max_bytes(150000):strip_icc()/277019-baked-pork-chops-with-cream-of-mushroom-soup-DDMFS-beauty-4x3-BG-7505-5762b731cf30447d9cbbbbbf387beafa.jpg)